


Simple braid hairstyles offer a practical and stylish way for beginners to enhance their look without needing advanced skills or special tools. Mastering a basic braid technique opens up a variety of easy, polished hairstyles suitable for everyday wear and special occasions alike. This makes braiding an accessible skill that anyone can learn with a little practice.
Essential Tools and Preparation

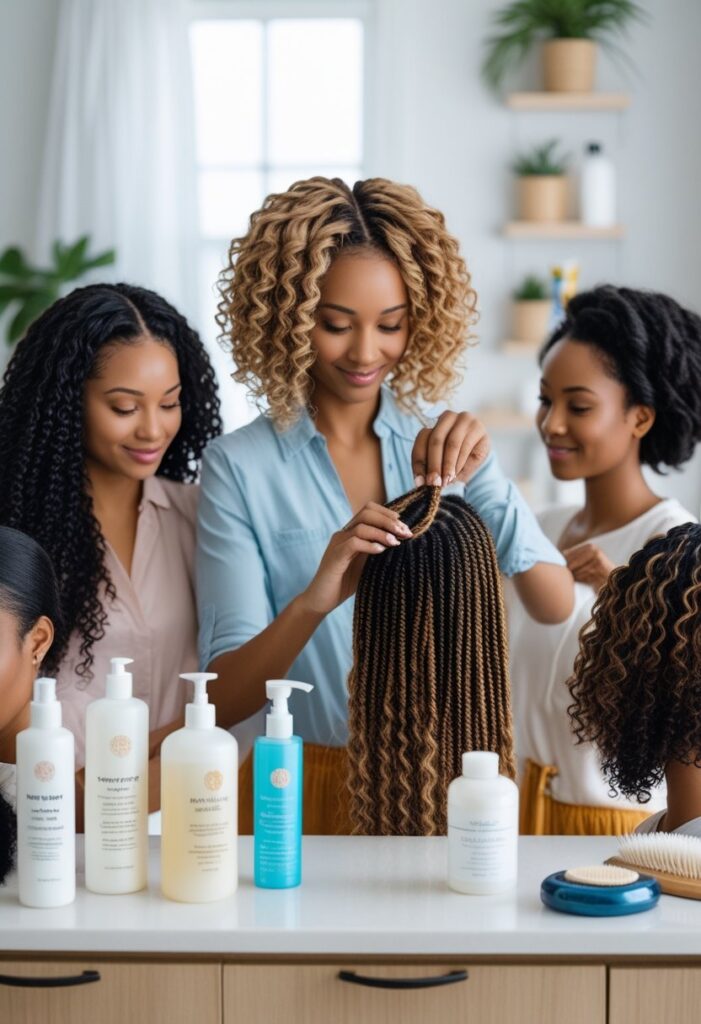
Preparing the hair correctly and gathering the right tools makes braiding easier and results in a neater finished braid. Proper detangling, selecting appropriate hair products, and having securing accessories ready are key steps to begin.
Detangling and Sectioning
Before braiding, the hair must be thoroughly detangled to avoid knots and snagging. Using a wide-tooth comb, they should gently work from the ends toward the roots to loosen any tangles. This prevents breakage and ensures smooth braiding.
Once detangled, the hair needs to be divided into clean, even sections. Using a rat-tail comb helps create precise partings depending on the style desired. Clear sections allow the braider to handle the strands easily and maintain control over the braid’s shape.
Proper sectioning also helps manage different hair textures and thicknesses effectively. If the hair is thick, smaller sections make the braid more defined and easier to manage.
Choosing Hair Products for Braids
Applying the right hair products prepares the hair for braiding by adding grip and reducing flyaways. A light texturizing spray is useful to add subtle hold without weighing hair down. It increases friction between strands, making the braid hold better and look fuller.
For smooth, frizz-free braids, a small amount of leave-in conditioner or smoothing serum can be applied, especially on dry or coarse hair. However, heavy oils or creams should be avoided as they make hair slippery and harder to braid.
Dry hair should be slightly dampened to help the braid stay intact longer. It is important to use only minimal amounts of product to avoid buildup and a greasy appearance.
Using Bobby Pins and Elastics
Secure the braid ends with small, snag-free elastics made for hair. Clear or hair-colored elastics are ideal for a discreet look. They hold the braid firmly without pulling or damaging the hair.
Bobby pins are essential for securing loose strands or creating more complex braided styles. Choosing pins that match the hair color helps maintain a clean finish.
To increase hold, bobby pins should be inserted with the ridged side down. It is helpful to carry extra pins for touch-ups and adjustments during or after braiding.
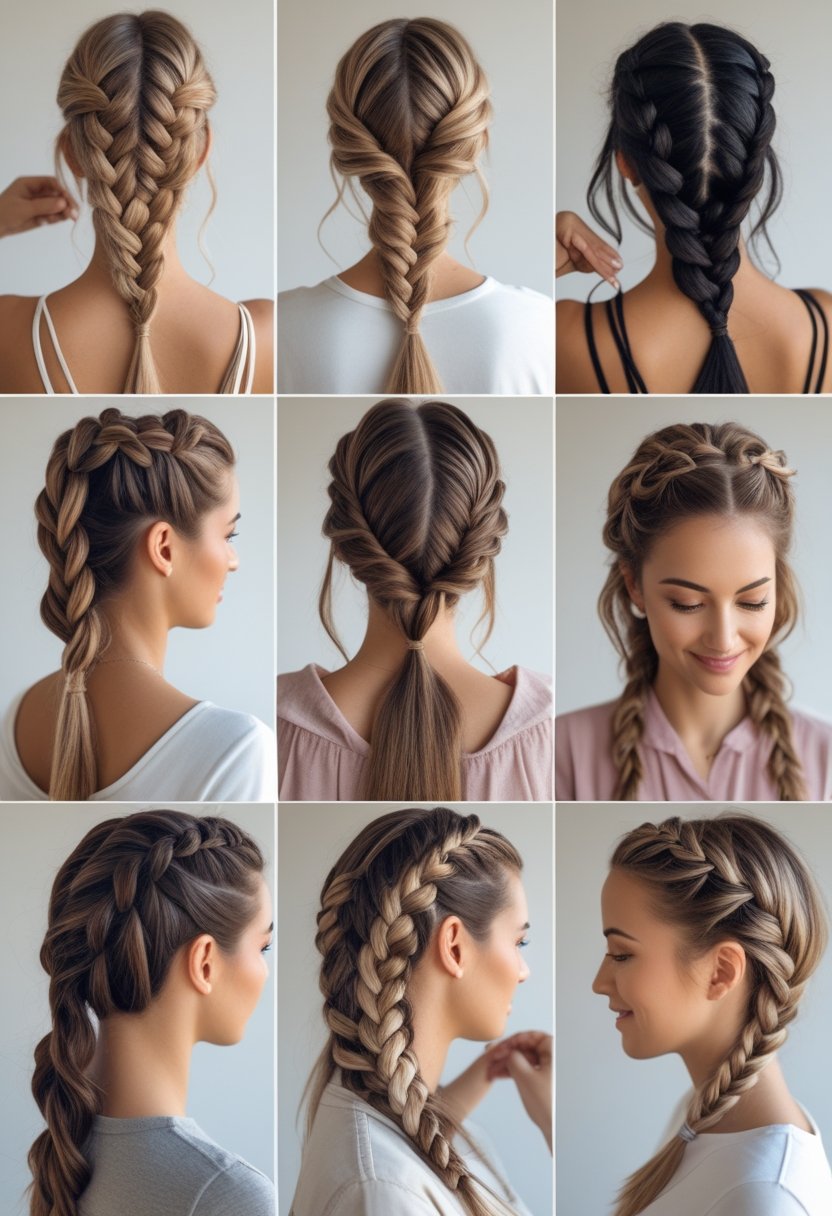
Fundamental Braiding Techniques
Mastering basic braiding techniques is essential for creating neat, secure hairstyles. These methods focus on how strands are woven together and where new hair is incorporated during the braid’s construction.
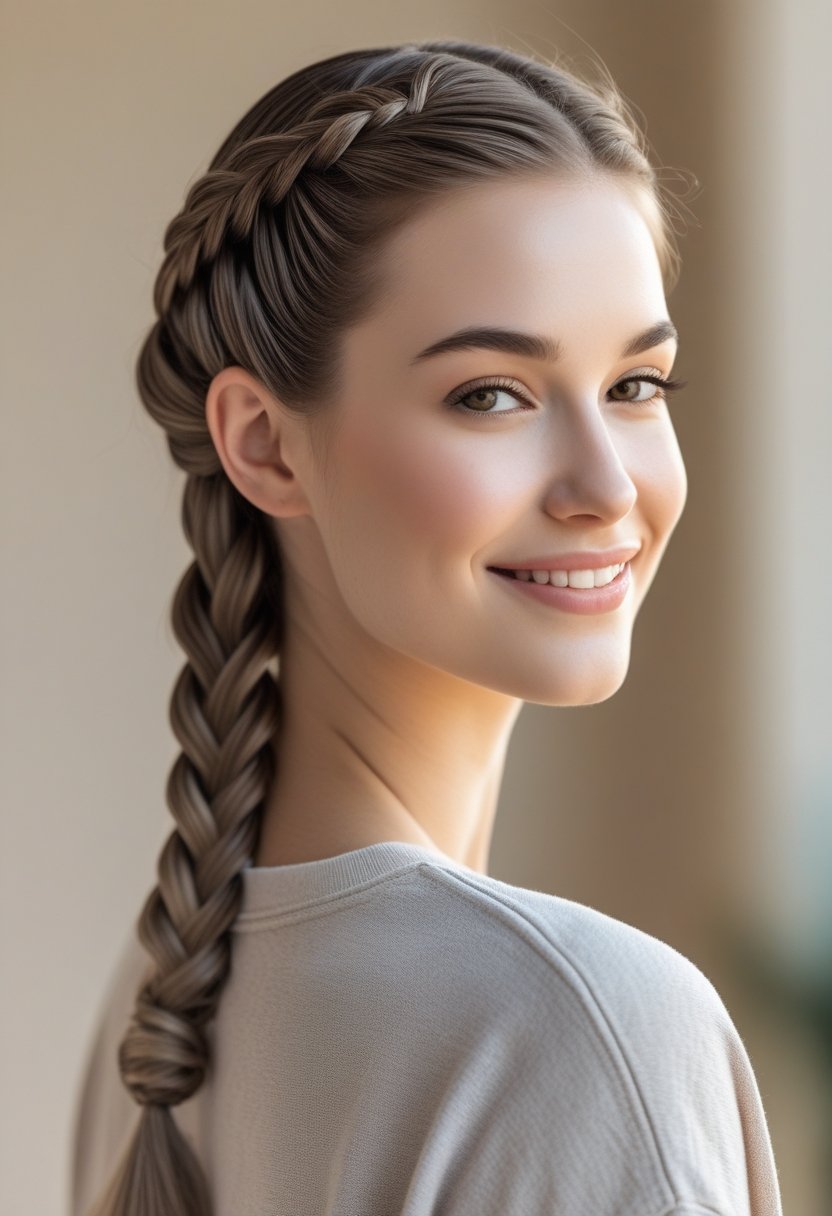
Classic Three-Strand Braid
The classic three-strand braid is the foundation of most braiding styles. It begins by dividing the hair into three equal sections.
The process involves crossing the right section over the middle, then the left section over the new middle strand, repeating this pattern until the braid is complete. The braid tightens as each section is pulled evenly.
This technique does not add extra hair as it progresses. It creates a simple, uniform braid ideal for beginners and can be adapted into various styles, from casual to formal.
French Braid Basics
A French braid starts with three small sections at the top of the head. Unlike a three-strand braid, hair is added gradually from the sides as the braid moves downward.
The key step is to gather additional hair before crossing each side section over the middle strand. This method secures hair closely to the scalp and creates a smooth, integrated look.
Maintaining even tension and consistent section size results in a balanced, tight braid that holds well throughout the day.
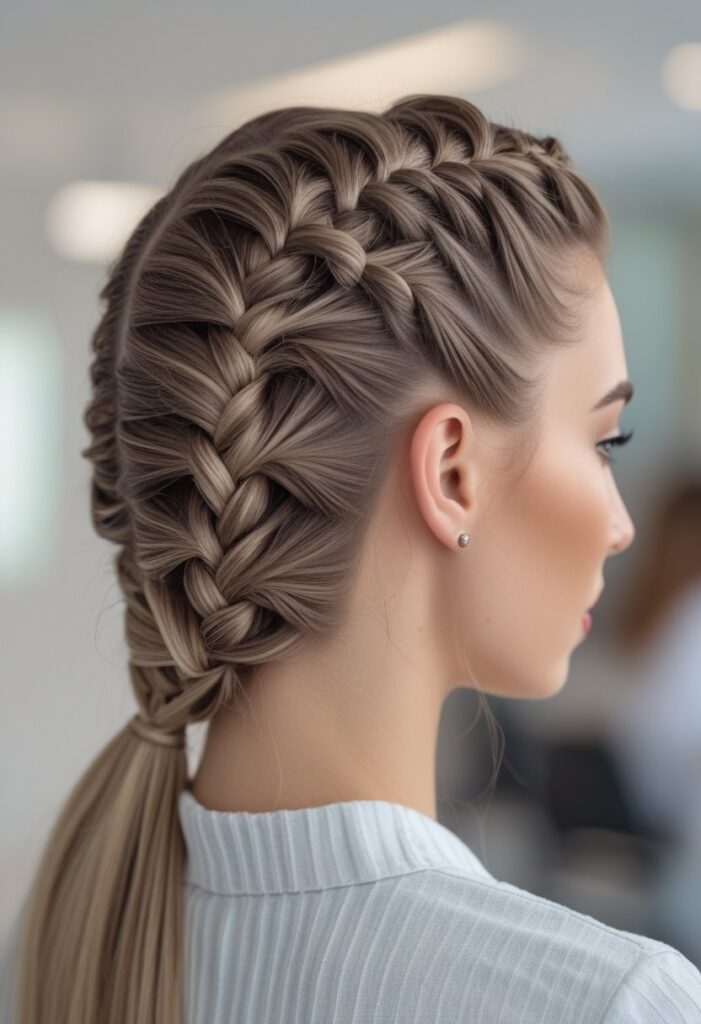
Dutch Braid Steps
The Dutch braid is similar to the French braid but differs in the weaving technique. Instead of crossing the sections over the middle strand, they are crossed underneath it, creating a braid that sits on top of the hair.
Like the French braid, additional hair is incorporated with each crossover, making the braid appear raised and more prominent.
This technique requires focused control to keep the braid tight and defined. It is often chosen for its bold, textured effect on various hair lengths.
Easy Braid Styles for Everyday Wear
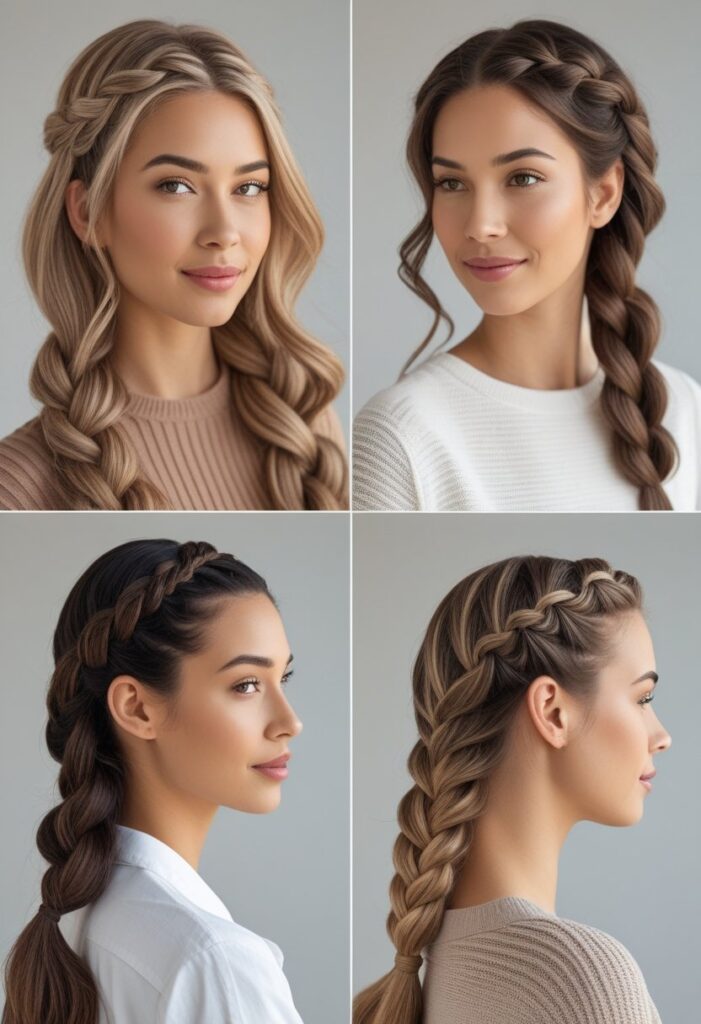
Simple braids offer practical solutions for daily hairstyles that require minimal tools and time. They work well with various hair types and add subtle style without complexity. Each braid type can be adapted for casual or polished looks.
Fishtail Braid Method
The fishtail braid creates a distinctive, textured appearance by dividing hair into two sections. Instead of three strands, small pieces are alternately crossed from each side, forming a tight, intricate pattern.
To start, divide hair into two even sections. Take a thin strand from the outer edge of one section and cross it over to the opposite section. Repeat on the other side, alternating until the braid reaches the end. Secure with a hair tie.
This braid works best on medium to long hair and benefits from a smooth pull-through ponytail before braiding. It offers a polished effect suitable for both work and casual outings. It may take practice but becomes quicker with repetition.
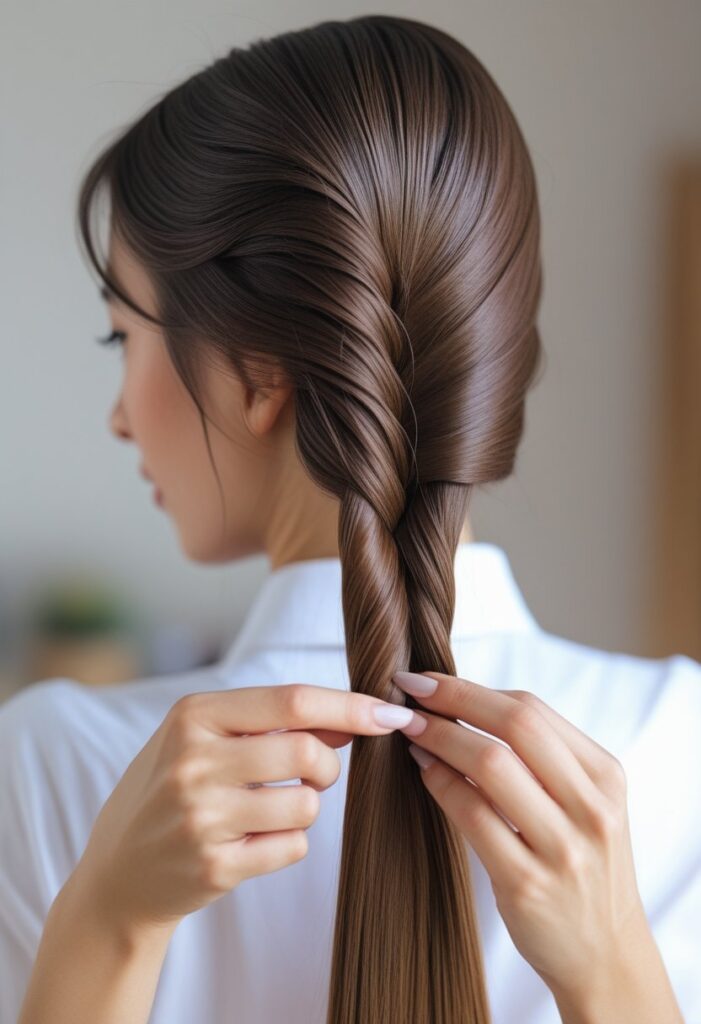
Rope Braid Approach
A rope braid uses two sections twisted individually before being twisted together. This creates a rope-like spiral design and is slightly easier to master than the fishtail braid.
Start by splitting the hair into two sections. Twist each section tightly in the same direction, then wrap those two twisted sections around each other in the opposite direction. This counter-twisting keeps the braid secure.
It suits all hair textures and lengths but is particularly effective for medium hair. Rope braids provide a neat, defined look that holds well through daily activities and works as a quick braid style for any casual or semi-formal event.
Side Braid Styling
The side braid offers a relaxed and practical style. It involves braiding the hair to one side of the head, creating a flattering frame and reducing hair interference during activities.
To create this, gather hair to one side and braid using a standard three-strand method or a more elaborate style like fishtail or rope braid. The braid can be loose for a casual feel or tight for a more controlled look.
Its versatility suits all hair types and lengths. The side braid remains easy to do quickly, making it perfect for everyday wear, especially when combined with accessories like clips or elastics for added style.
Half-Up and Decorative Braids
Half-up braids combine ease with style, offering a flexible way to enhance simple hairstyles. They often incorporate smaller, decorative elements that add texture and detail without requiring advanced skill.
Half-Up Braided Crown
The half-up braided crown frames the face by braiding hair along the hairline and securing it at the back, creating a crown-like effect. This style uses two braids, typically starting near the temples, which meet in the middle or wrap around the head.
To create this look, start with clean, detangled hair. Choose either a basic three-strand braid or a simple French braid for more hold. The braids should be tight enough to stay put but not so tight that they cause discomfort. Secure the ends with small clear elastics or pins.
This style suits casual and formal occasions, providing a polished appearance without needing curling or extra products.
Accent Braids Creation
Accent braids are small, strategically placed braids that add interest to any hairstyle. They are versatile in location—sometimes near the temples, above the ear, or incorporated into ponytails.
To make an accent braid, pick a small section of hair and braid it tightly. These can be plain three-strand braids or variations like fishtail or rope braids, depending on skill level and preference. The braids often blend into the rest of the hair or are pinned back for emphasis.
Accent braids can freshen up simple styles by inserting texture and dimension without overwhelming the overall look.
Headband Braid Variation
The headband braid acts like a natural hair accessory by braiding a section along the hairline, creating the illusion of a braided headband. It can be done with one or two braids, typically starting from one side and moving across to the other.
This style requires parting the hair from ear to ear and braiding tightly along this section. It’s important to keep the braid close to the scalp for a clean look. Use bobby pins or small elastics to secure the braid behind the ear or under other hair.
The headband braid works well on both straight and wavy hair, offering a neat, decorative element that keeps hair away from the face.
Braided Ponytails and Buns
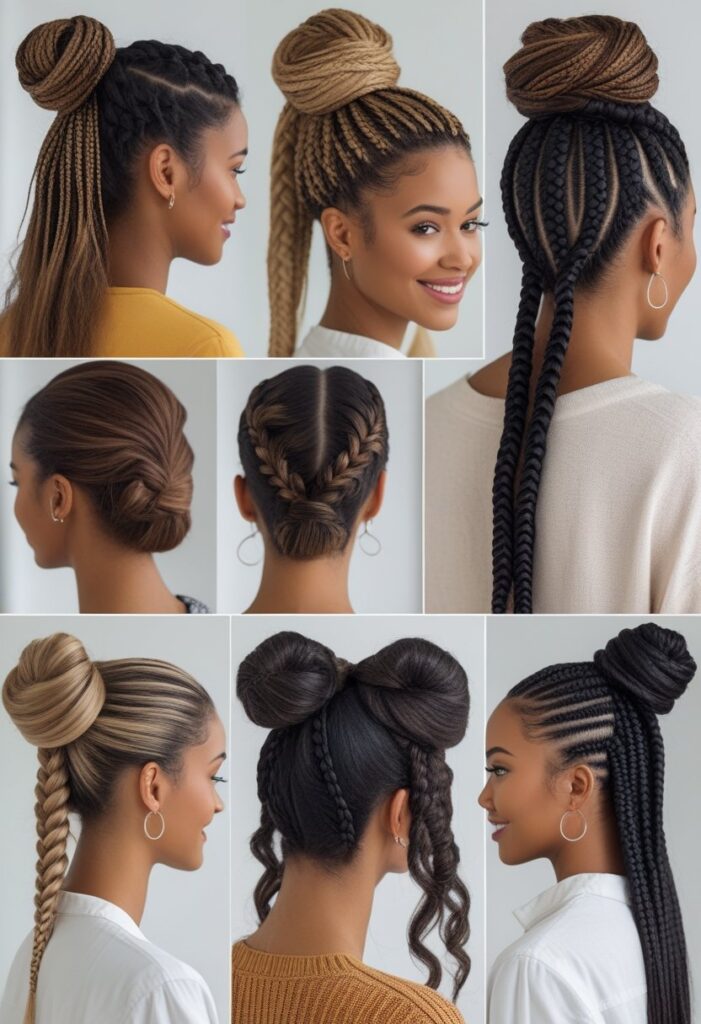
Braided ponytails and buns combine simplicity with style, making them ideal for beginners. These hairstyles offer versatility and can be adjusted for casual or formal looks. Proper preparation and step-by-step execution are key to achieving polished results.
Braided Ponytail Tutorial
To create a braided ponytail, start by gathering the hair into a secure ponytail at the desired height. Use a hair elastic to hold it firmly in place.
Next, divide the ponytail into three even sections and begin a simple three-strand braid or a fishtail braid for a more intricate look. Braid all the way down, maintaining even tension to avoid loose strands. Secure the end with a small elastic band.
For added volume or texture, lightly pull apart each braid segment after finishing. This step enhances the braid’s fullness and dimension, creating a more polished appearance.
Braided Bun Assembly
After braiding the ponytail, wrap it around the base to form a bun shape. Keep the braid tight and neat to maintain structure.
Secure the bun with bobby pins placed evenly around the base, ensuring it feels stable. Tuck any loose ends under the bun for a clean finish.
For beginners, using a donut bun maker or clip-in extensions can simplify the process and add volume. This method creates a tidy yet elegant braided bun suitable for various occasions.
Advanced Yet Simple Braid Variations
These braid variations offer a step beyond the basic styles, adding texture and visual interest without requiring expert skills. Each technique uses familiar movements but arranges hair to create distinct, stylish effects that remain approachable for beginners willing to practice.
Pull-Through Braid Guide
The pull-through braid creates the illusion of a complex braid using sections pulled through elastic bands. It requires dividing hair into small ponytails, then splitting each and pulling the next ponytail through, which forms a chunky, voluminous look.
This style works well for medium to long hair and holds best with smooth, detangled strands. It looks intricate but is easy to master with practice, making it a popular choice for casual or formal occasions.
Bubble Braid Look
The bubble braid involves securing sections of hair with elastic bands spaced evenly along the length, then gently pulling each segment outward to create “bubbles.” This technique adds playful volume without weaving individual strands.
Ideal for all hair lengths, especially thicker hair, bubble braids are practical for sport or casual days. It requires minimal braiding skill but offers a unique, effortless statement distinguishing it from traditional braids.
Four-Strand Braiding
A four-strand braid expands on the classic three-strand method by adding an extra section, creating a wider, more textured pattern. It involves crossing strands in a specific sequence that interlocks hair tightly and evenly.
This braid suits those comfortable with basic braiding who want to try a more textured style. It works best on straight or slightly wavy hair and can be worn both tight for control or loose for a softer look.
Lace Braid Technique
The lace braid is a variation of the French braid focusing on adding hair from only one side while braiding. This creates a clean, delicate edge braid often used to frame the face or as a foundation for more complex updos.
It requires control and rhythmic hand movements to incorporate hair gradually. Lace braids are practical for medium-length hair and add elegance to casual or formal hairstyles with minimal added complexity.
Unique and Trendy Beginner Braids
These braid styles offer distinct visual appeal with approachable techniques for those new to braiding. Each combines creativity and practicality, suitable for casual or formal occasions without requiring advanced skills or tools.
Milkmaid Braid Walkthrough
The milkmaid braid uses two simple braids, wrapped over the head like a headband. It creates a neat, symmetrical look that frames the face effectively. This style works well on medium to long hair and can be adapted for a casual or polished finish.
To achieve milkmaid braids, start by parting the hair down the middle. Then create two regular three-strand braids, one on each side. Secure the ends with small elastics. Finally, lift and pin each braid across the top of the head, tucking the ends under for a seamless appearance. Bobby pins help keep the braids secure without extra bulk.
Milkmaid braids are low-maintenance and hold well throughout the day, making them ideal for beginners seeking a fresh yet classic style.
Crown Braid Structure
The crown braid, also known as a braided crown, wraps around the head like a halo and offers a refined, elegant look. It is essentially a continuous braid that encircles the scalp, blending style with hair control.
Starting with a section of hair near one ear, a classic or Dutch braid technique can be used. Hair is gradually added to the braid as it moves around the head. Keeping the braid close to the scalp ensures the crown shape holds. Once the braid completes the circle, the end is tucked and pinned.
This braid suits most hair types and works best on medium to thick hair for fullness. It is a popular choice for formal events or to elevate everyday looks with minimal fuss.
Waterfall Braid Effect
The waterfall braid is a partial braid that allows strands of hair to “fall” freely through the structure, creating a cascading effect. It adds texture and interest, perfect for those who want to try something more creative while maintaining simplicity.
To create a waterfall braid, the hair is braided across the side of the head, but instead of incorporating each strand into the braid, one section is dropped at intervals, creating a “waterfall.” This requires working with three sections of hair, passing one over and letting the middle strand fall.
This technique works well on straight or wavy hair and can be started near the temple, moving toward the back or opposite ear. It’s great for enhancing layered hair and pairs well with loose waves.
Halo Braid Inspiration
A halo braid is similar to the crown braid but often larger and looser, forming a soft, circular frame around the head. It is a versatile style that frames the face and tames longer hair elegantly.
This braid is typically made by creating a long Dutch or French braid starting at one side, moving around the hairline. The braid is gently pulled apart to widen it, giving a fuller, more pronounced halo shape. The end is pinned discreetly underneath the braid.
Halo braids can be dressed up with flowers or accessories or kept simple. It’s suitable for almost any hair type, particularly long and thick hair, offering a balance between style and comfort.
Braids for Kids and Playful Styles
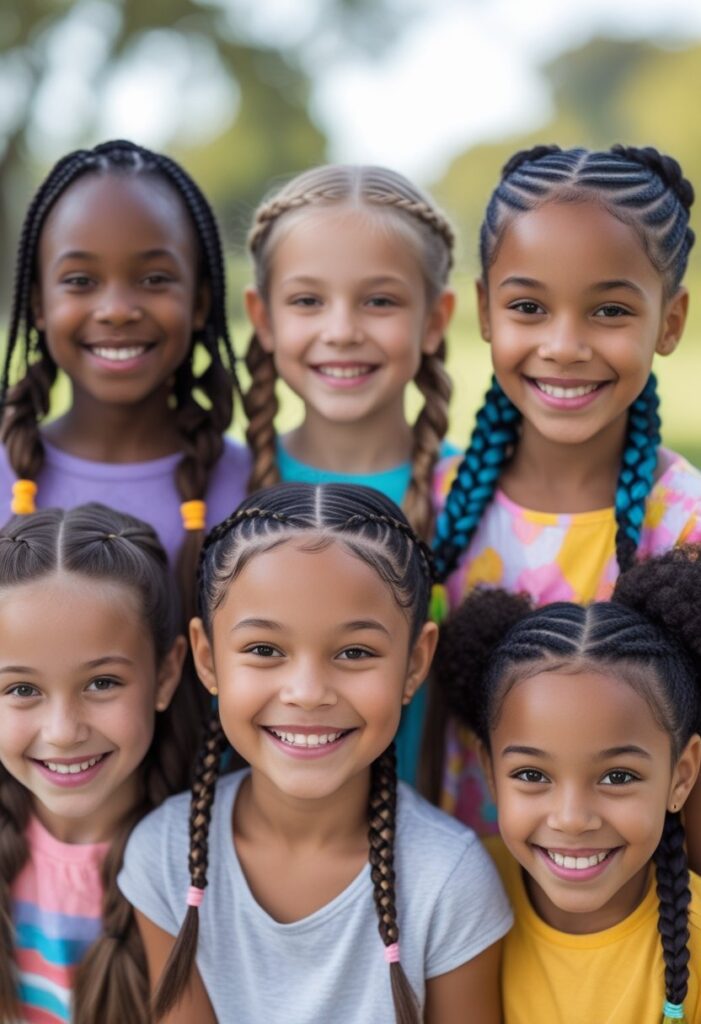
Braids for kids must balance ease of styling with comfort and durability. These styles often use simple techniques while incorporating playful elements like parting, texture, and accessories. Effective kid-friendly braids protect hair and last through active days.
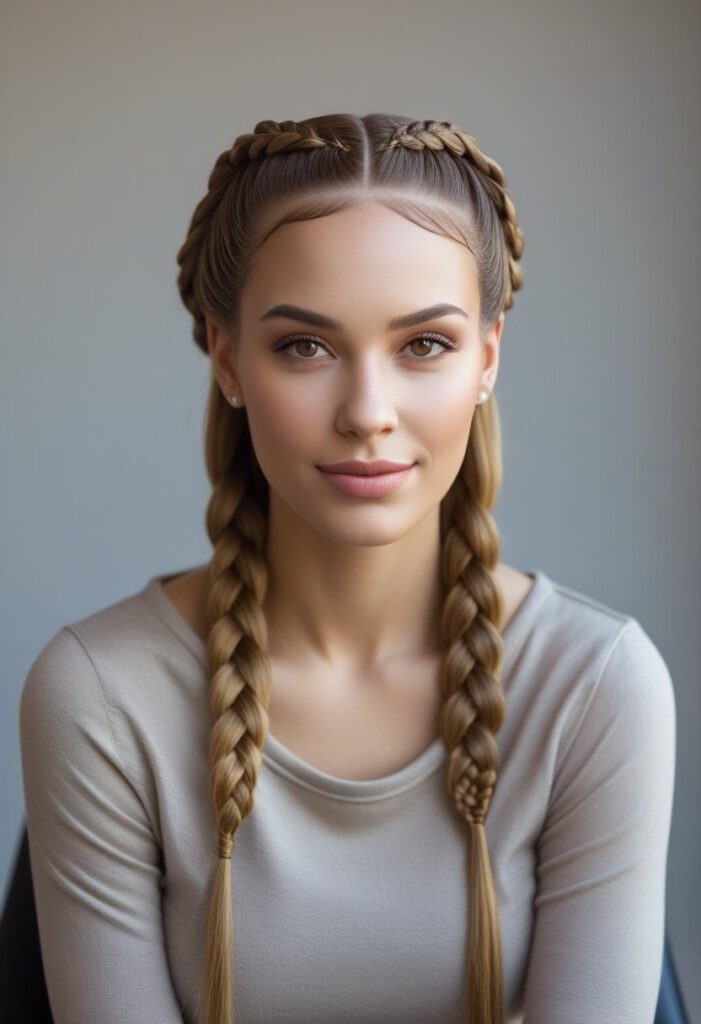
Pigtail Braids for Beginners
Pigtail braids divide hair into two equal sections and braid each side separately. This style is straightforward and ideal for beginners. It keeps hair neat and out of the face, making it practical for school or play.
To create pigtail braids:
- Part hair down the middle.
- Secure one side with a hair tie.
- Braid the loose hair in a simple three-strand braid.
- Repeat on the other side.
Adding ribbons or colorful hair ties at the ends can make the style more playful. Pigtail braids are gentle on hair and easy to maintain throughout the day.
Double Dutch Braids
Double Dutch braids are built by crossing strands under each other rather than over. This technique makes the braids stand out and look raised, adding volume and a 3D effect. They are a popular choice for active kids because the braids hold securely.
To achieve double Dutch braids:
- Divide hair into two equal sections.
- Take three small strands on one side.
- Braid by crossing each strand under the middle strand.
- Add hair as you braid along the scalp, continuing to the ends.
- Repeat on the other side.
This style works well with medium to long hair and can be accented with beads or clips for extra fun. It also helps protect hair by reducing tangles.
Messy Braids Made Simple
Messy braids create a relaxed, casual look and work well for children whose hair is difficult to manage in neat styles. They require less precision but still keep hair controlled and stylish.
To make a messy braid:
- Start with a loose three-strand braid.
- Do not pull strands too tightly.
- Tug gently at sections after braiding to loosen and fluff the braid.
This style is forgiving and quick, making it good for busy mornings. It also complements accessories like headbands or clips for a personalized touch without stressing the hair.
Tips for Different Hair Types and Everyday Care
Different hair types require specific approaches to achieve neat braided hairstyles and maintain them throughout the day. Attention to preparation, product choice, and gentle handling helps prevent damage and keeps braids looking fresh longer.
Braiding Curly Hair
Curly hair tends to be drier and more prone to frizz, so it benefits from extra moisture before braiding. Using a leave-in conditioner or lightweight oil smooths the hair and reduces tangling. Detangling gently with a wide-tooth comb is essential to avoid breakage.
Braiding when hair is slightly damp can help control flyaways while maintaining curl definition. Protective styles such as loose three-strand braids or rope braids prevent tension and are less likely to cause damage.
It is important to avoid tight braiding on curly hair, as this can lead to scalp discomfort and traction alopecia. Finishing with a soft edge control product keeps the hairline neat without creating stiffness.
Texturizing Fine or Straight Hair
Fine or straight hair often lacks natural grip, making braids prone to slipping out quickly. Applying texturizing sprays or sea salt sprays adds volume and hold without heaviness.
Lightly teasing sections before braiding can improve braid thickness visually and help the strands hold together better. Using small amounts of styling mousse or dry shampoo can add necessary texture.
Choosing braid styles like the classic three-strand or simple rope braids works well for straight or fine hair. Securing braids tightly but comfortably prevents unraveling during daily wear.
Maintaining Braided Hairstyles
Keeping braided hairstyles looking polished requires nighttime care and regular maintenance. Covering hair with a satin or silk scarf preserves moisture and reduces friction while sleeping.
Reapplying moisturizing sprays or light oils to dry areas helps maintain the hair’s health and prevents breakage at the braid roots. Avoid overwashing braids; instead, focus on gentle scalp cleansing using diluted shampoo.
When taking down braids, it is best to detangle slowly and carefully to avoid damage. Storing unused braids in a loose, baja method reduces frizz and keeps the hairstyle reusable if intended.
